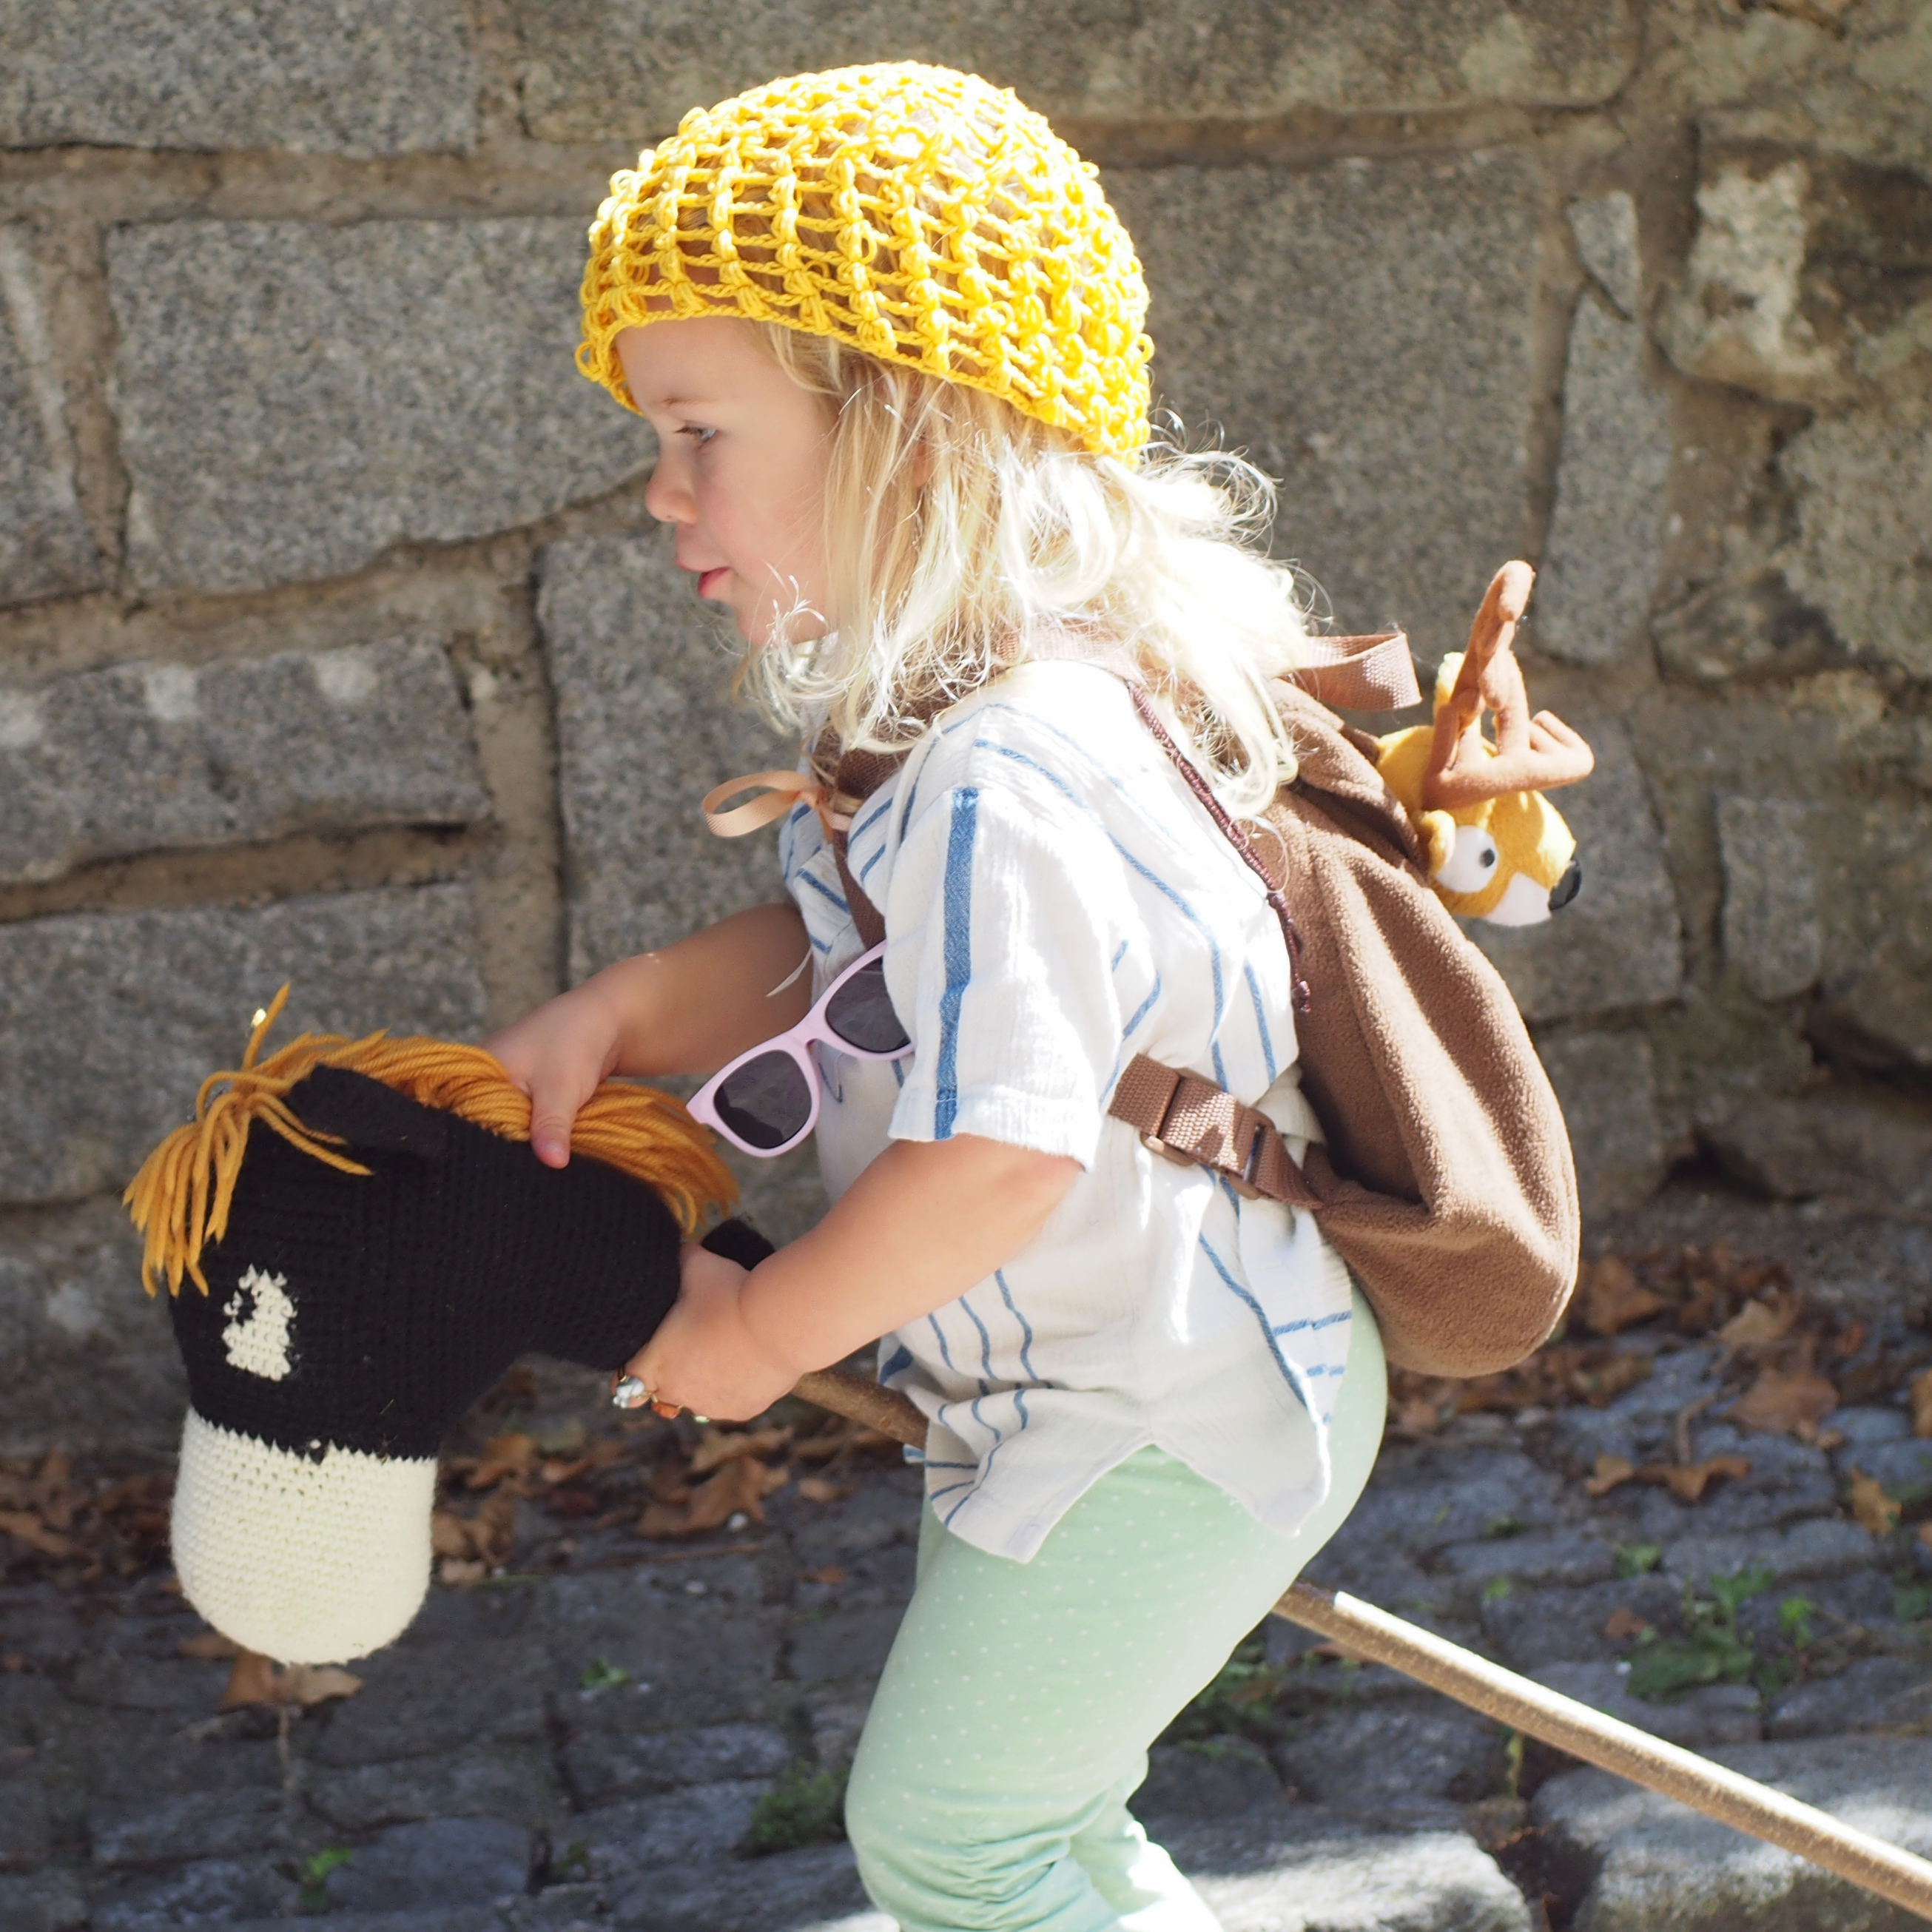
Hobby horse
Started at the nose, spiraling in Amigurumi style until just before the eyes where I started with rows for the top half. The eyes are a complicate series of colour changes, but all the extra yarn is hidden inside so that’s nice. I like the eyes a lot more than simple buttons. I looks much more realistic and I’m sure if you do glowing yellow eyes it will make the perfect ride for Halloweeen.
Towards the back of the head I reduced stitches in the center of the row and added stitches at the sides, that allowed me to close it much more easily. Once closed I start with rows at the chin, work rows into the front comes down to a circle again and I spiral once more. Bonus points can be collected for a nicer finish than I have…
Ears are best done all four pieces in one go or your ears will look wonky like mine. Before feeding the horse with cotton wool/batting, use a good contrast yarn and one of those self-closing hooks to add the mane. See how the mane is hiding that botched job you did when closing the back of the head? Perfect!
The stick is hazelnut and in particular a stick that grew inside a hedge which allowed it to very smooth compared to free range hazelnut sticks. Don’t worry about cutting sticks in the wild, coppicing should be done every six years like it was done in the old days. Bind it well and after a few cases of headless-horse-disease you’ll figure how it actually stays where it should.